Jupyter notebook is a tool to interactively develop with python. When working with datascience, it integrates all you need smoothly in one place. It is thanks to the possibility of having different blocks of code, text or rich content in one file.
It’s called notebook a notebook because you can run bits of code, add any content, edit and save it all as one document.
All cells or blocks of code have access to the same python Kernel. Hence, what has been run in one cell can be used in another.
Setup
If you’re not sure of your python environment, follow how to manage your python environment article. Once python3 is set up, install jupyter with:
pip install jupyter
Then start a jupyter notebook using:
jupyter notebook
This will run jupyter notebook which you can then access through your web browser. Create
a new notebook file ending with .ipynb which will contain
all the necessary information of your notebook.
You can ignore the .ipynb_checkpoints/** folder in your .gitignore.
Customization
Extensions
Let’s add some jupyter packages for customization, first install the dependencies:
pip install jupyter_nbextensions_configurator jupyter_contrib_nbextensions
jupyter contrib nbextensions install
Everytime you install a package or do an extension modification, you’ll have to restart the notebook for the effect to
be taken into consideration. You should now see a range of features in a Nbextension tab.
Looks
You can also customize your notebook looks…
pip install jupyterthemes
Here is a full list of the available themes from towardsdatascience.com which is a must see with so many great articles about jupyter notebook and datascience!
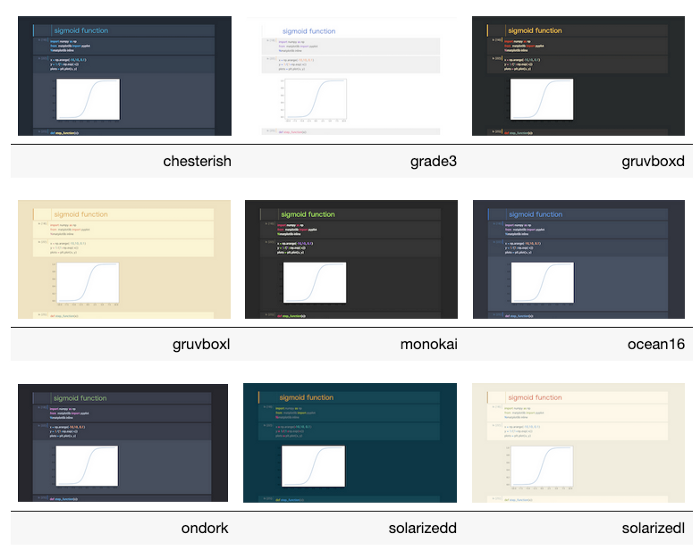
You can modify the theme by using these commands:
jt -l                           # To list the available themes
jt -t oceans16 -T -N -kl        # To add the theme with tool bar and logo
jt -r                           # To remove the theme
Like before, once you run those commands, you will need to restart your jupyter notebook for theme to be accounted for.
Basically it adds a custom.css in your ~/.jupyter/ folder.
Magic commands
Using default magic commands
Jupyter magic commands come from IPython and will
usually start with %, use %magic for info inside a jupyter code cell.
The notebook is not only for python! 🤯 You can change the language at the beginning of a cell using:
%%ruby  # This cell will output "hello world!"
puts
'hello world!'
You can also use another language, find the list on the jupyter edu’s book.
Using %%capture
Another cool magic command is the %%capture which will capture the output of a code cell when for example,
displaying the content is not necessary.
Finally, the last one is the ! in front of the next command allow me to execute a command directly in the terminal:
!pip install pandas
This way you can install packages directly from your jupyter notebook, but you can also run other bash commands or scripts.
Using %store
The %store magic command allows you to store variables locally to be used in another notebook or
another session.
It’s not part of IPython anymore, you now need to install pickleshare to use it.
pip install pickleshare
Once installed you can start saving cells or value with %store:
my_value = {'value': 'hello world'}
%store
my_value
Then in another cell or another notebook you can retrieve the value with:
%store - r
my_value
Now even if the notebook was stopped, you can still retrieve the my_value variable without having to run the previous
cell to define it.
Be careful to not store too many variables as it uses the disk to store them. Use
%store - d variable_nameto delete a variable or%store -zto delete all stored variables.
That way, critical computed values can be stored and experimented against without having to re-do length computation to get them.
Conclusion
There’s so much you can do with jupyter notebook, and it makes temporary scripting with python so much easier! Also find a fully functional example in /assets/notebook/ where I used all the tricks in this article within 🎉